Electric Motor - 2
Faraday sees the light
“But still try. For who knows what is possible” - Michael Faraday
The story goes something like this. Michael Faraday, a blacksmith’s son hates his job but loves science. By sheer perseverance and a little bit of luck he ends up working in Sir Humphrey Davy’s lab where interesting experiments relating to electricity are being carried out.

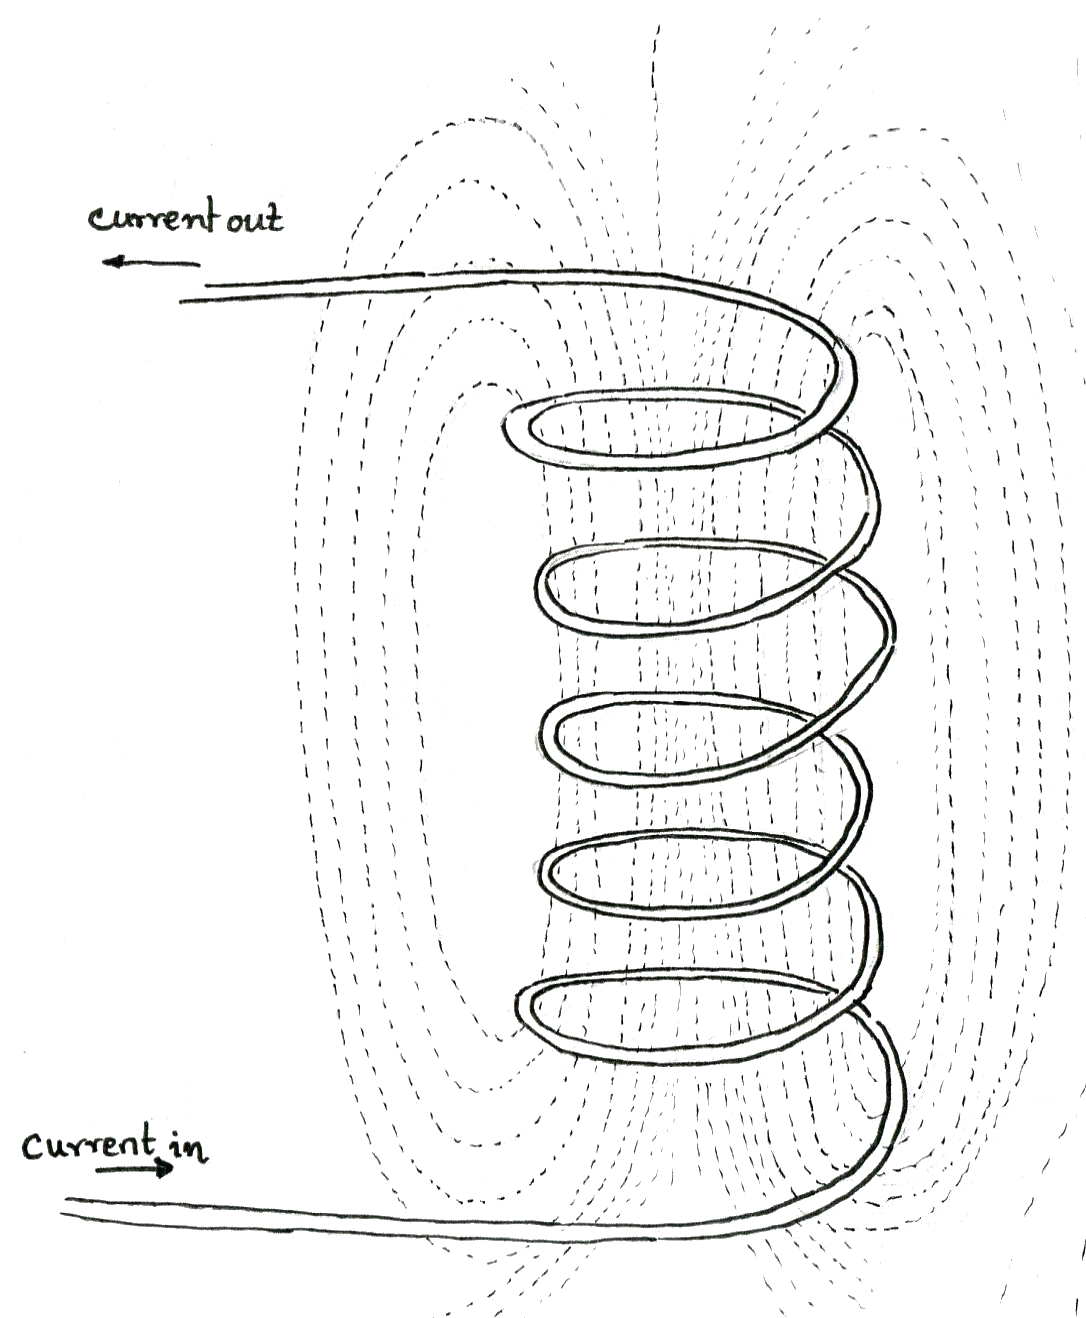
It is common knowledge at the time that an electrical current through a wire is able to move the magnetic head of a compass, and that the movement is occurs due to a “magnetic field” that somehow envelops the current-carrying wire.
A few days later he turns everything on the head – placing a stationary magnet under a wire, and causing the wire to move by passing electricity passed through it. In the process, he creates perhaps one of the greatest experiments of the century. It would eventually lead to the creation of the motor.

Above: English chemist John Daniell (left) and physicist Michael Faraday (right), both credited as founders of electrochemistry today.

Above: The wire moves when electricity passes through it – the original rotating wire experiment by Faraday! Photo courtesy of Division of Work & Industry, National Museum of American History, Smithsonian Institution
It was Faraday who revealed one of the most basics secrets of the universe – that electricity, magnetism and motion were all related. You could take electricity, and magnetism and together it would cause motion. You could also take motion, and magnetism…and cause electricity. So Faraday not only invented the motor, he invented the generator too.
How’s that for exceeding expectations?!
One last note to keep in mind – the concept of a “field” and “lines” of a magnetic or electric field are abstract concepts. They do not actually exist in nature and you cannot touch them, or feel them. But this important abstract concept helps us understand many thinks in real life that we indeed can touch and feel. Like the spinning of a motor.
But…what is a motor?
A motor is something that converts electrical energy (from a battery or other voltage source) into mechanical energy (used for rotation).
Motors are everywhere. From your electric toy car that moves at the touch of a button to the blender that whips up your favourite smoothie – it’s the motors inside that do most of the work. All it needs is a bit of electricity and vroooom it goes. Faraday called the field inside this motor an “electro-magnetic” field – quite simply because the field is created when electricity and magnetic fields interact with each other.
But let’s not just talk about it, lets start making it!
Safety instructions
Do not use any battery rated more than 9 volts for this experiment. Unless you intend to fry up and look like this.

The assembled motor
This is what we will make today. When an electrical current is passed through the wire, it begins to rotate as shown in the video below:
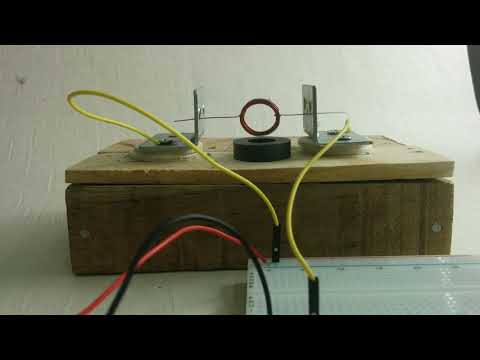
Click here to play the above video
Things we need
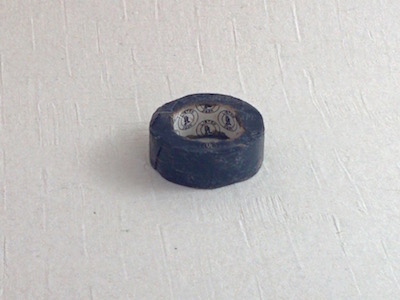
Magnet
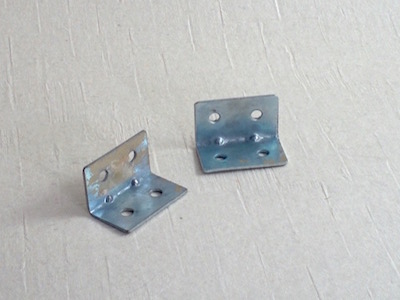
Metal Brackets
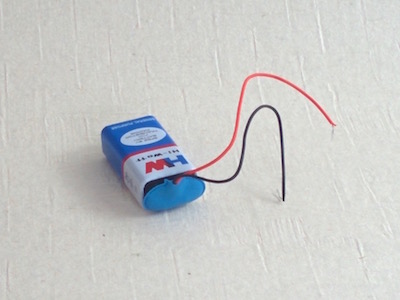
9v Battery
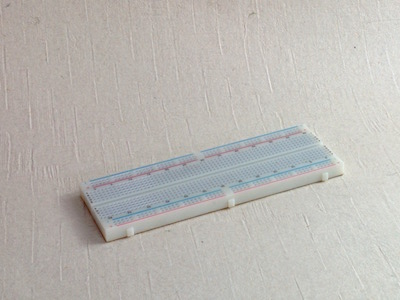
Breadboard
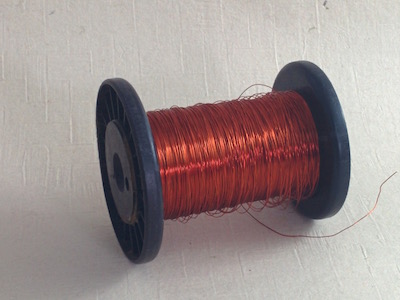
Copper Wire
Electrical Tape
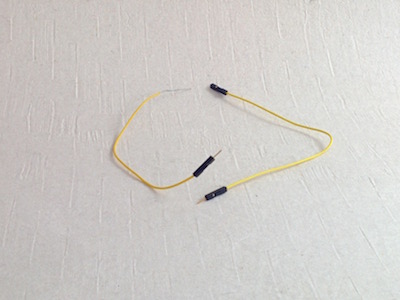
Jumper wires
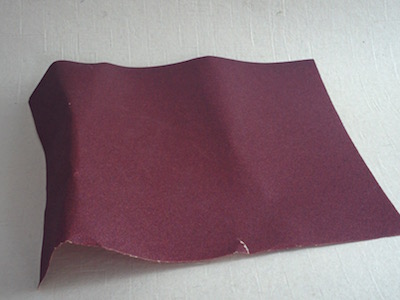
Sandpaper
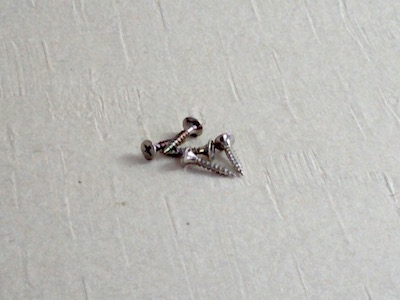
Screws
Wooden Base
You don’t need to have the exact items mentioned above. So, if you don’t have a metal bracket, perhaps an aluminium sheet bent at right angles will do. If you don’t have a breadboard, just use your imagination to connect the motor components directly to the battery (perhaps a rubber band can help?). All the items can be got from your local electronics, electrical and hardware stores.
Steps
Step 1: Make the coil
Take a AA battery and wind up the copper wire around it as shown in the picture below. Make about 10 to 15 turns of the wire, and then slide it out carefully. Twist the wires at opposite end. Nature loves symmetry and it is important to make sure both ends are roughly of the same length. Use some sandpaper to rub out the enamel coating on one side of the coil to expose the copper wire at the ends so that the electrical current can flow from the copper wire on to the metal brackets when the enamel-free part is connected to the bracket.
Coil it around a AA battery
Slide it out, and twist each end out
Use sandpaper to remove the copper coating at the ends – on one side (don’t remove from enamel all around, otherwise the motor will not work)
Step 2: Mount the brackets and place the coil between them
Drill the brackets on to the wooden block. Make sure that the coil is just above the magnet but not touching it. It needs to move freely above it. In the picture below the height of the brackets on the wooden amount have been adjusted by placing some wooden material below. Once you have aligned up the coil, screw the brackets down making sure to attach a couple of wires to either end.
Step 3: Complete the circuit
Connect the 9-volt battery and complete the circuit. A breadboard is recommended because you can easily turn the circuit on and off by simply pulling out the wires. If you don’t have a breadboard, use your ingenuity to directly attach the ends of both wires to the appropriate ends of the battery.
How does it work?
As soon at the circuit is complete, electrons start flowing from the negative end of the battery (black wire), and through the screws and up the bracket and then finally into the copper wire. Once electricity starts flowing through the coil, a temporary “electro” magnetic field is created around it. When combined with the magnetic field from the permanent magnet below this creates a “torque” (or turning motion) in the coil. The coil begins to turn. However, by the time the coil turns 180 degrees the torque reverses in direction (because magnetic field lines have reversed) and the coil cannot make the full turn…unless we eliminate the torque by stopping the flow of electricity. This is exactly what happens when the coil turns and the enamel-covered portion of the wire touches the bracket. The flow of electrons is stopped, and the coil keeps turning due to inertia. Once it turns over, the “stripped” portion of the coil again comes in contact with the bracket, electrons start to flow again, again causing the “turning motion”. The motor spins.
Try another experiment by not stripping the enamel off from either ends of the coil. You will notice that the coil oscillates but never makes the full turn. Some motor, I say! :)
Faster…faster…faster
How can we rotate the motor faster? The force of the motor depends on three things - the length of the coil, the amount of current and the strength of the magnet. Increase any of them, and see the motor turn faster.
force = current x wire length x strength of magnetic field
Warning: Do not use a battery greater than 9 volts as the coil can get very hot!
Troubleshooting
If your motor does not work, fret not. Here are a few things to check.
- Are both sides of the coil balanced and of equal length (roughly)? If not, the electromagnetic fields just won’t be right to start the motor. Make the coil as symmetrical as possible.
- Is the coil too high or low? Move it around so it’s at the optimal distance from the magnet.
- Is the current flowing through the wire? Make sure the enamel coating at the point where the wire touches the metal bracket is completely removed so that the electrons can flow unimpeded. Check both ends.
References and Attributions
- http://web.mit.edu/cmse/educational/Beauvais_DC_Motor_LP.pdf
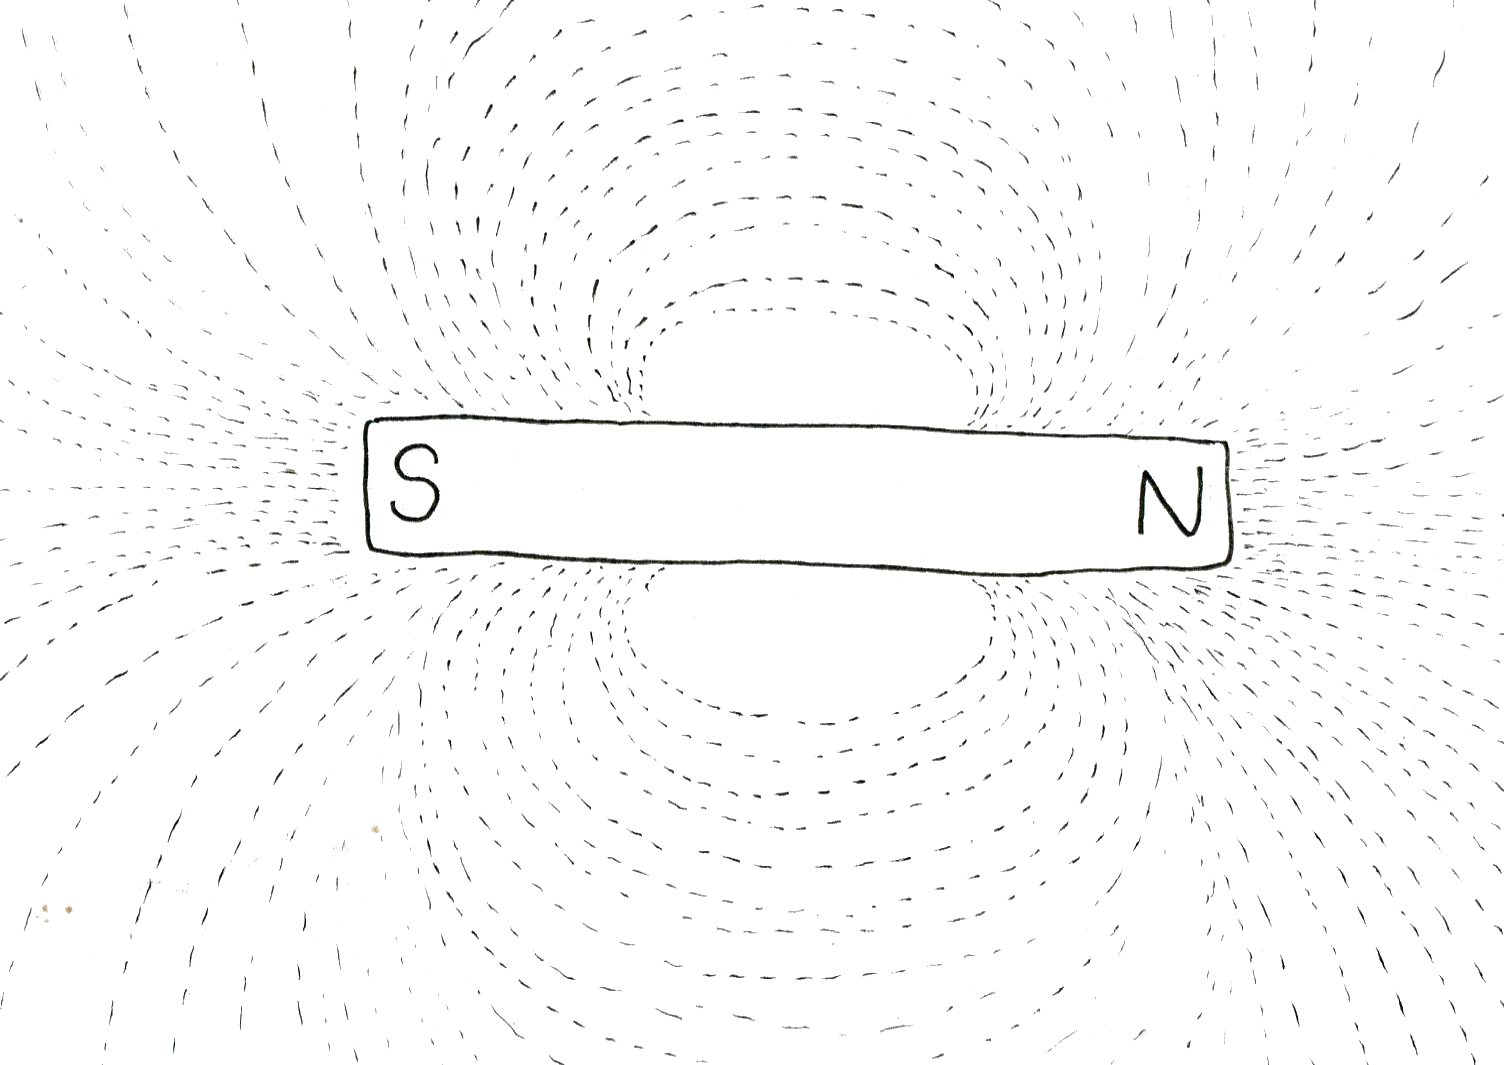
- http://www.naturalmagnetism.com/images/static-magnetic-field.jpg
- http://www.realclearscience.com/articles/2014/01/29/how_tesla_coils_work_108474.html
- https://en.wikipedia.org/wiki/Electrochemistry#/media/File:Faraday-Daniell.PNG
- By Michael Faraday, 1791-1867 - Chemical Heritage Foundation, Public Domain, https://commons.wikimedia.org/w/index.php?curid=30124172
- https://www.eti.kit.edu/english/1376.php
- https://www.youtube.com/watch?v=6Ns5tRyvoHY&feature=youtu.be